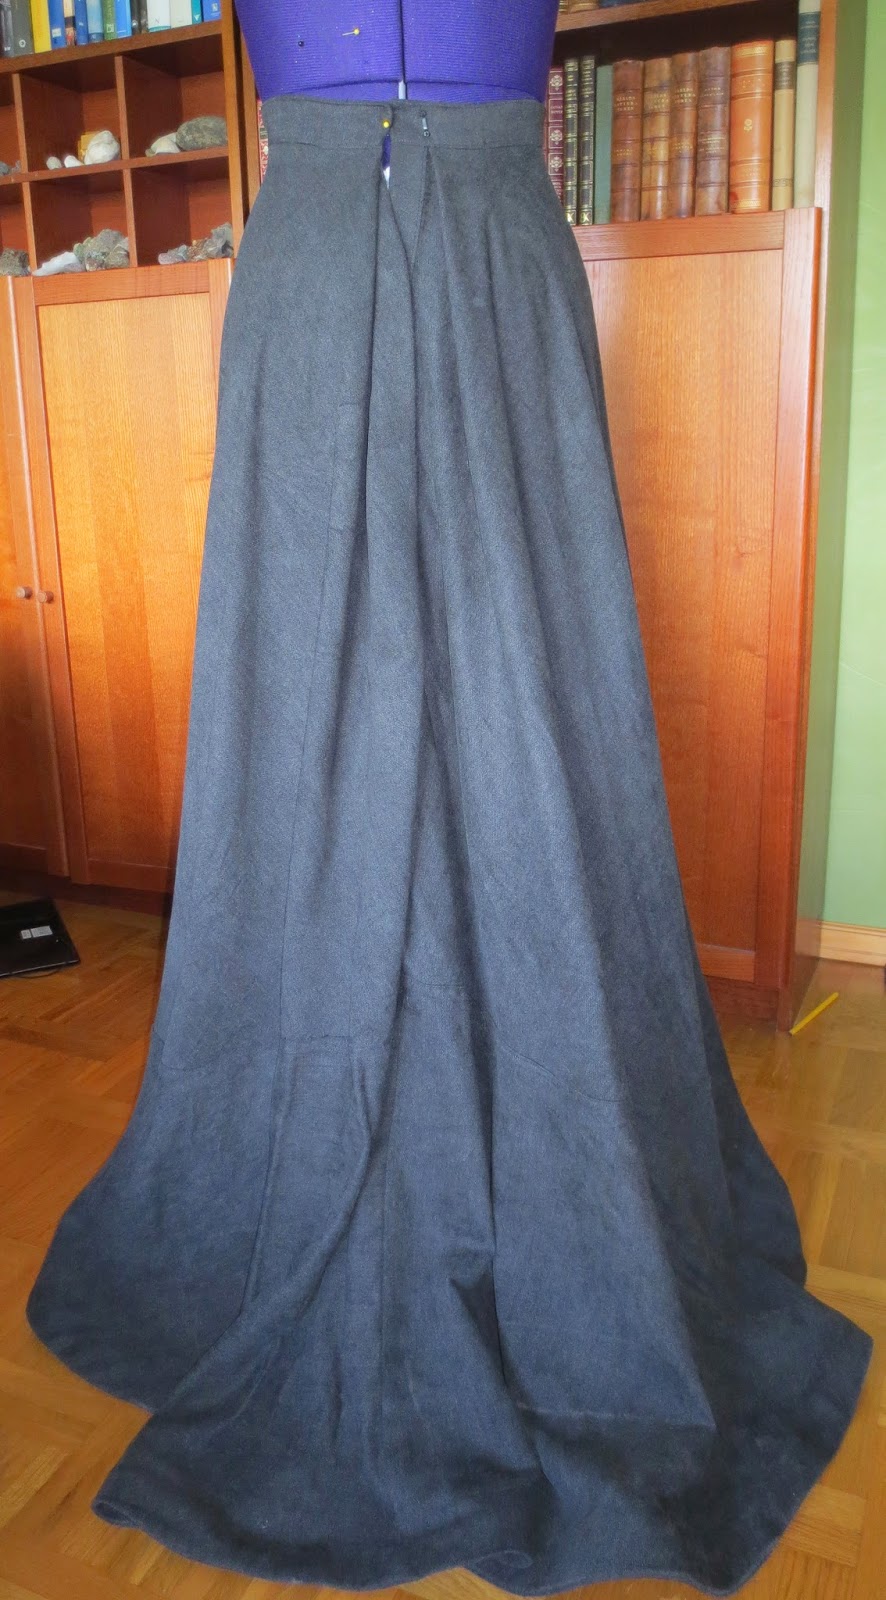
We will start of by looking at the first piece I made to go with the 1903 corset, the petticoat. This was the first petticoat I have ever made and it involved a bit of improvisation, but I am overall pleased with the result. My main inspiration was the Edwardian petticoat from Past Patterns:
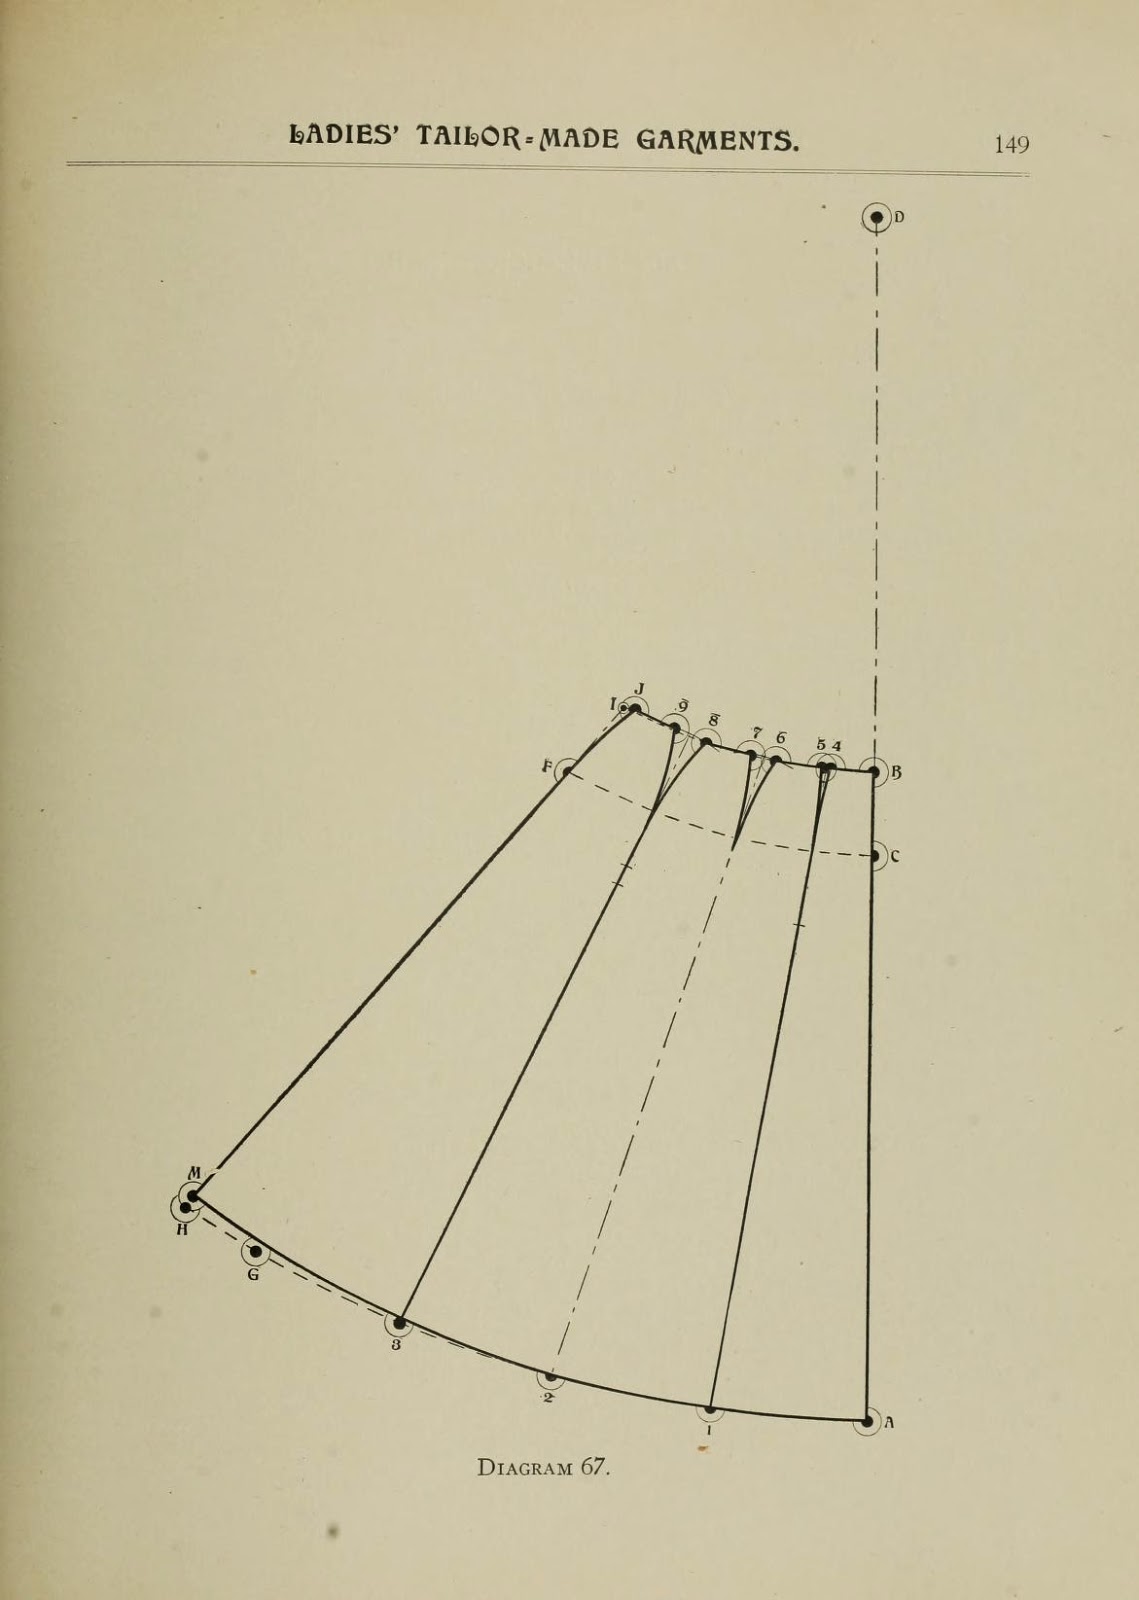
Sadly, I did not buy the pattern since it would require shipping from the US to Sweden. Instead I went to a pattern making book published in 1908 that is readily accessible online and that I have been dying to try out. Perhaps I made an over complicated petticoat when I choose to use the pattern for a five-gored skirt that is fitted over the hips. From what I have understood, the patternpieces for an underskirt is often just squares that perhaps taper towards the waist. Anyway, the five-gore pattern is the one that I used and I did not alter the measurements from the books since they appeared to be quite close to my own.
After I drafted the pattern I cut it about knee-high and tried to add some width to create the flounce. In retrospect, even more width was needed.
I used a plain, cheap cotton fabric from Ikea for the whole petticoat. Construction was pretty straight forward and it is mostly machine finished. The side seams were all french seams, the placket was made in a single strip and I made an ordinary belt. I had never made a placket before, so the
eBooklet on plackets from Cloak and Corset was very helpful. The finished petticoat, somewhat dirty after having been dragged across wet grass in the botanical garden, is seen below.
 |
| Front |
 |
| Side |
 |
| Back |
 |
| Placket and a few pleats made to fit the skirt to the belt |
For decoration I covered the seam joining the flounce and the body of the skirt with lace beading and inserted a satin ribbon matching the corset.
 |
| Lace beading |
A bit further down there is a lace insertion for which I followed a
tutorial from Wearing History. I also added some 1cm wide tucks for decoration and to reduce the length.
 |
| Lace insertion and tucks |
I dithered for quite some time on how to finish the bottom edge of the petticoat and just two days before the picnic decided to add a row of gathered lace with a dust ruffle underneath. There was however no suitable lace to be found in the stash so I just put on the dust ruffle and covered the seam with some bias binding laid flat on top of the seam allowances.
 |
| Dust ruffle |
The dust ruffle is made from the same cotton fabric. I cut loads of 10cm/4 inch wide strips that were hemmed on one side. I used a presser foot that makes the hem automatically, that device is really the best thing ever! The other side was pleated using the automatic ruffler extension to my sewing machine before being sewn to the bottom of the petticoat. At the moment I am not sure if I should look for a suitable lace to put on top of i at all, I rather like the look of it.
Last but not least, a picture of it being worn over the corset!


