|
| 1901 Calling Costume, p 241 |


Pattern drafting in this book is accomplished by using graded rulers included in the appendix. I think it is rather easy, but then again, a skirt is not very complicated. I will get back once I am to fit the jacket that will accompany the skirt.
Having recently started a proper job and cashing in a proper salary every month meant that I could indulge myself and buy 6 meters of wool fabric to make up the whole suit. The fabric is perhaps a bit heavier than would have been ideal, but it was a dream to work with.
There is not really much to say about the construction, it was all really straightforward. Vertical seams sewn and left raw (awesome fabric), placket made at center back, pleats gathered, waistband attached, hooks and eyes added. At this point the half-finished skirt was hung up for a day or two to allow for the bias to stretch.
As I wanted to be able to go for walks in this skirt I had decided to make it ankle-length. Judging by the fashion plates above all skirts of the time were floor-length and had a train, but these period photographs tell a different story and gave me the courage to shorten it quite a bit.
After the hem had been cut I faced it with a 10cm wide bias strip of the same wool fabric and turned it to the inside of the skirt. Between the outer fabric and the facing is encased a piece of nylon horsehair braid that helps the skirt stand out a bit and not get all tangled up while walking. To finish the skirt of and to secure the facing I added a wide black velvet ribbon. I is possible that this ribbon will be replaced because it is just awful to handle, stiff and wrinkly! But from a distance it looks great and really finishes of the look.
 |
| Front view |
 |
| Back view |
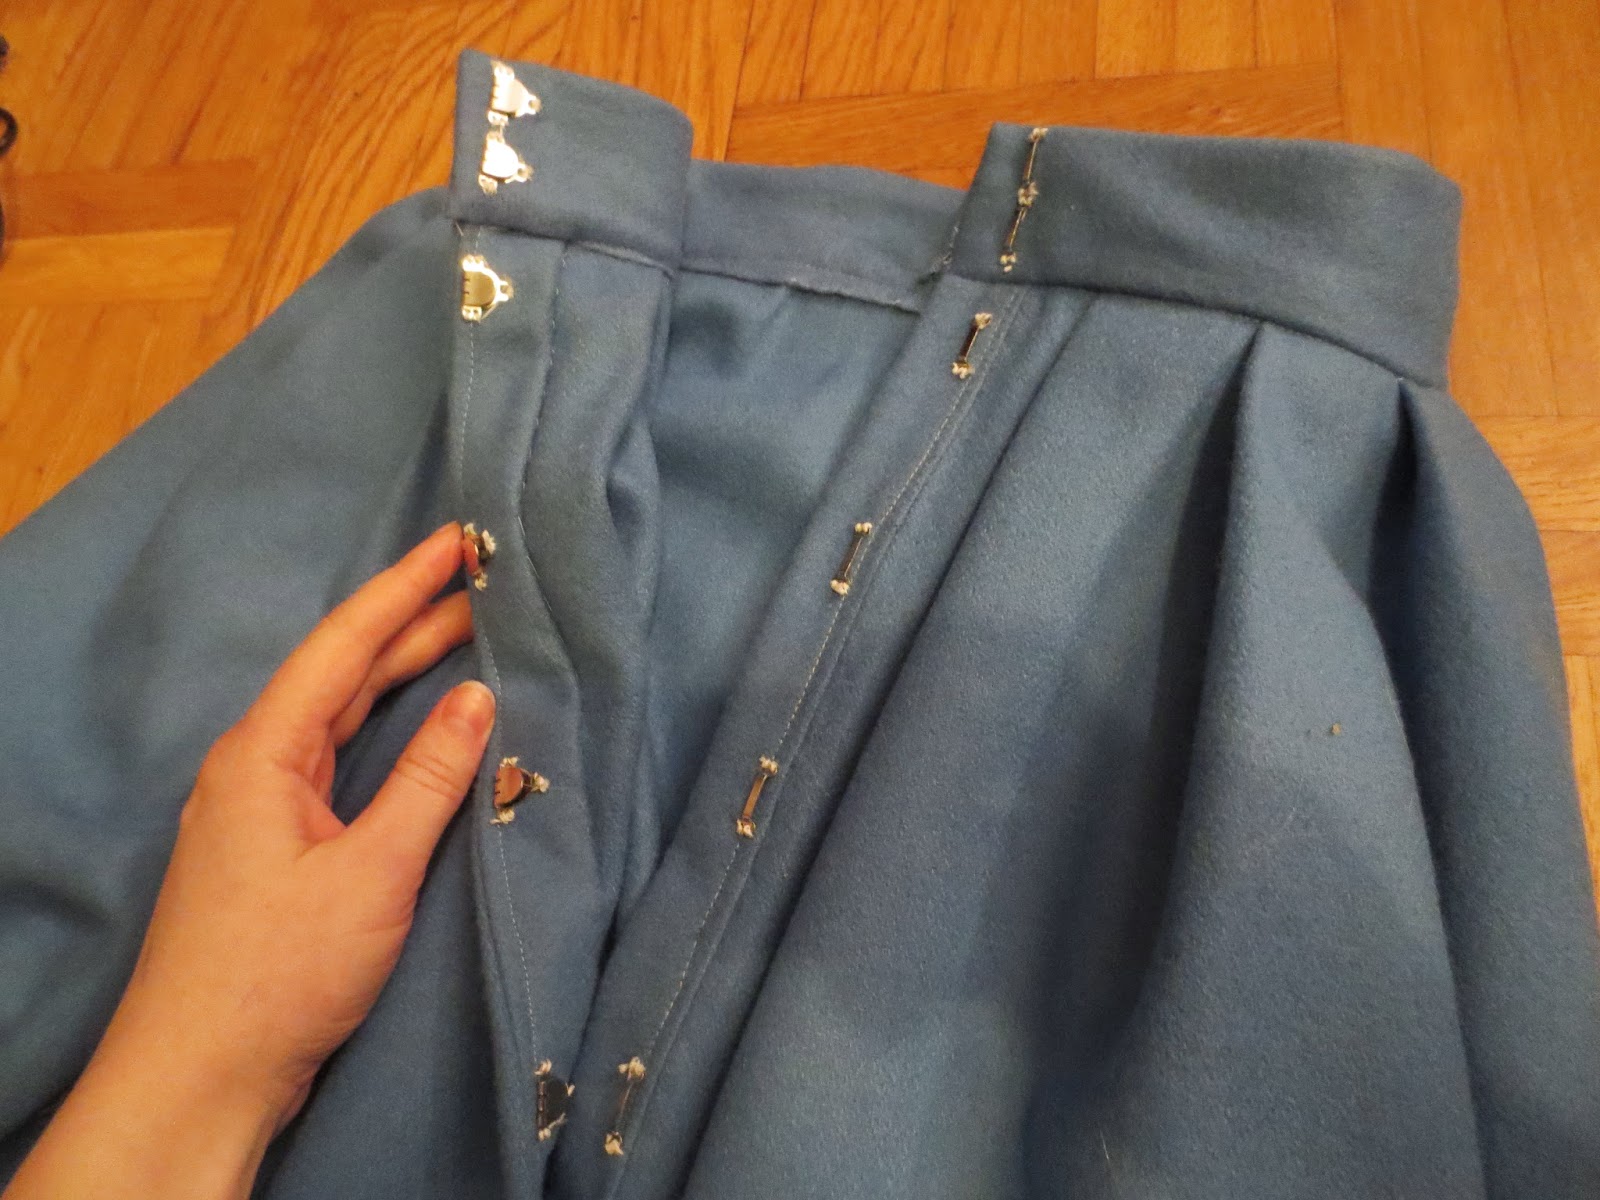 |
| Placket |
 |
| Encased horsehair braid |
 |
| Facing as seen from the wrong side of the skirt |
 |
| In motion with my everyday coat on top |
 |
| Notice how the hem stands out, wonderful while walking |
 |
| Almost something of an S-bend shape going on here |
Facts
The Challenge: Nr 2. BlueFabric: Blue wool (vadmal) from here
Pattern: Calling costume, p 241 The Voice of Fashion
Year: 1901
Notions: Polyester thread, nylon horsehair braid, 6 skirt hooks and eyes, silk thread, modern interfacing for the waistband , velvet ribbon.
How historically accurate is it? Pattern is authentic, the fabric also okay. There are some synthetic notations included but they are mostly hidden. The length of the skirt is an interesting aspect which I believe is very much accurate, our ancestors probably valued practicality as much as we do. Overall 95%.
Hours to complete: 5-6h, including pattern drafting
First worn: For afternoon tea at Tjolöholms castle
Total cost: Roughly estimated I used half of the fabric I ordered for this project and that amounts to 500-600SEK. Add another 100SEK for notation (mostly from stash though) and we end up around 50 GBP.